Bench Notes › Articles › Build
Article · 1 min readYour Strain Relief Is Too Big. Here's Why That Matters.
By Thomas Popp · Oct 7, 2026
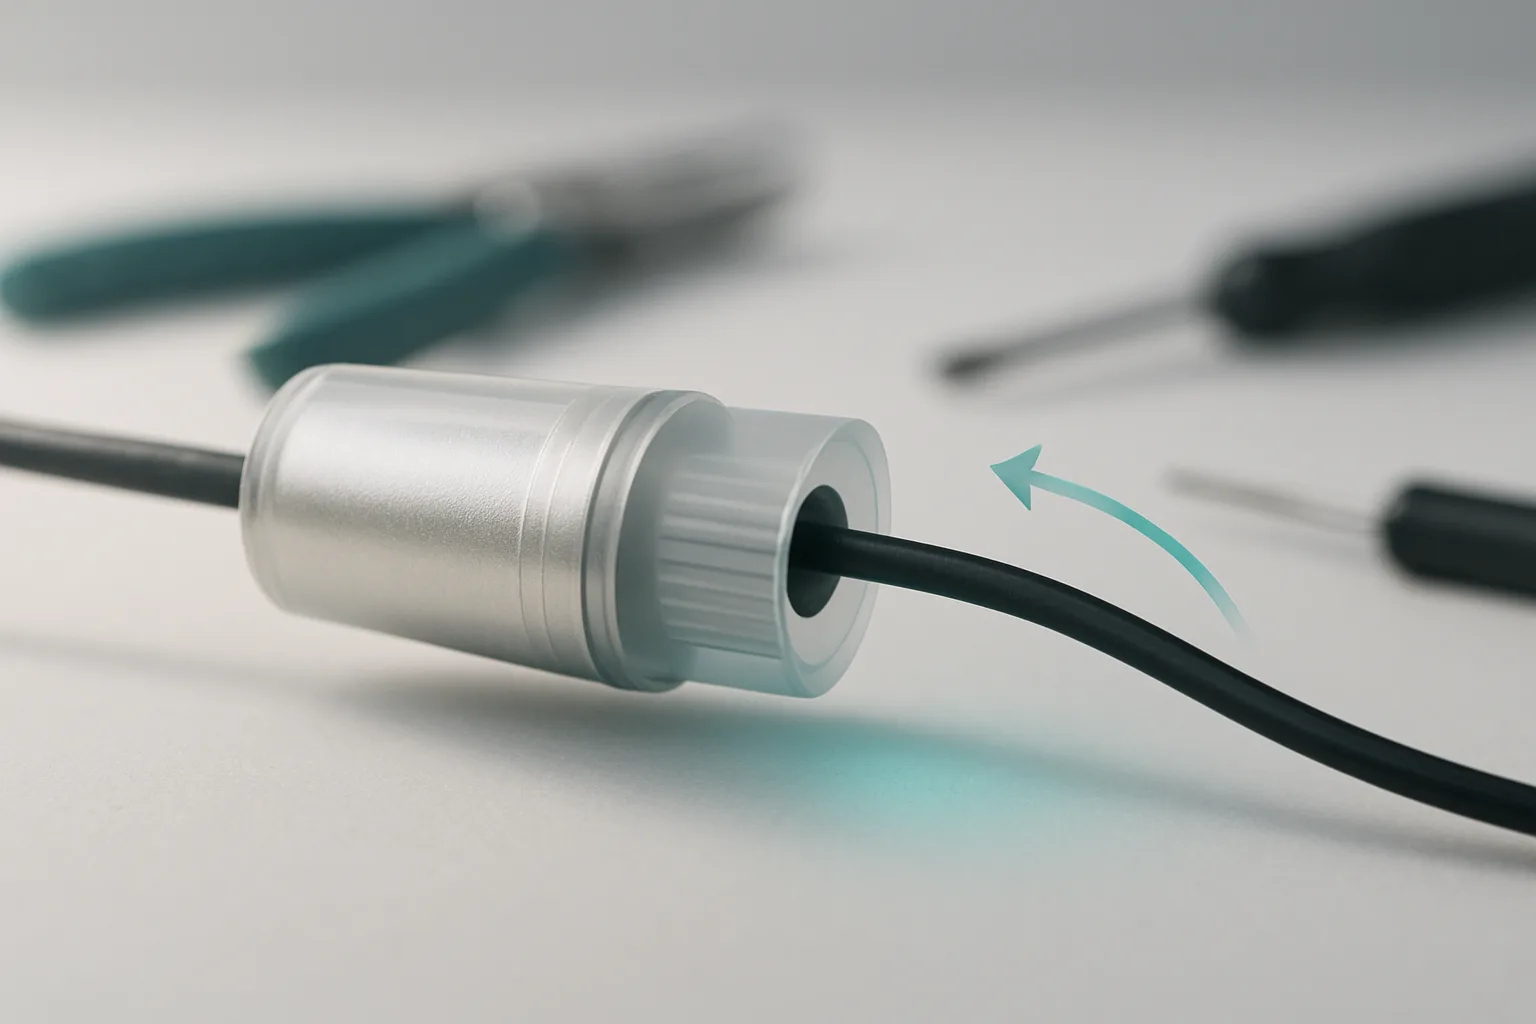
Your Strain Relief Is Too Big. Here's Why That Matters.
Some of the most common intermittent cables are not bad at the solder joints - they are bad at the one thing that was supposed to protect the solder joints. Every time a cable pivots inside an oversized strain relief, that motion travels straight down the conductors to the pins. The joint fatigues a little each time. Then one day, on set, it fails. If you keep re-soldering the same cable, the solder was never the problem.
Where the failure actually happens
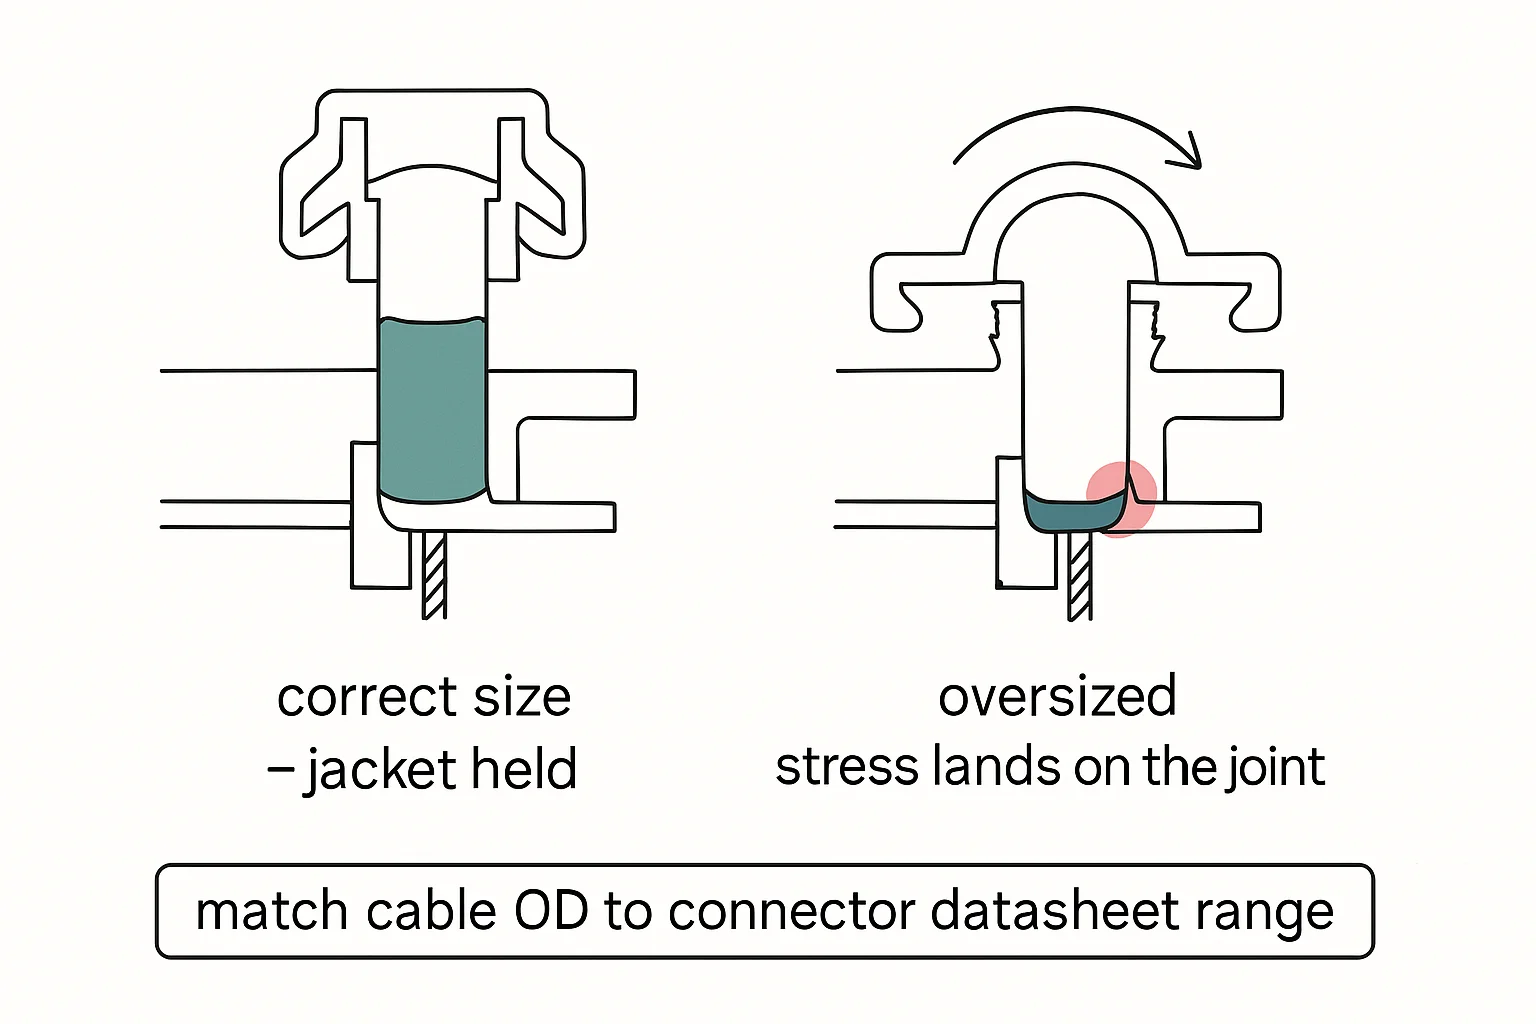
Strain relief only works when the connector's chuck and boot actually grip the cable's jacket. That sounds obvious, but connector shells come in size ranges - always confirm the accepted outer diameter against the specific connector's datasheet - and cable stocks come in wildly different thicknesses. Run a thin lav cable or a slim mini stock through a shell meant for thick rubber-jacket mic cable and the clamp bites air. The boot flops loose, the cable slides, and every tug, bend, and pivot at the connector becomes motion at the solder cups.
This is the quiet version of the fault. Nobody notices a cable that fits loosely at the bench, because at rest it tests fine. The damage is cumulative and invisible: hundreds of tiny flexes at the joint, day after day, until a conductor goes intermittent or breaks free entirely.
The ten-second fit test
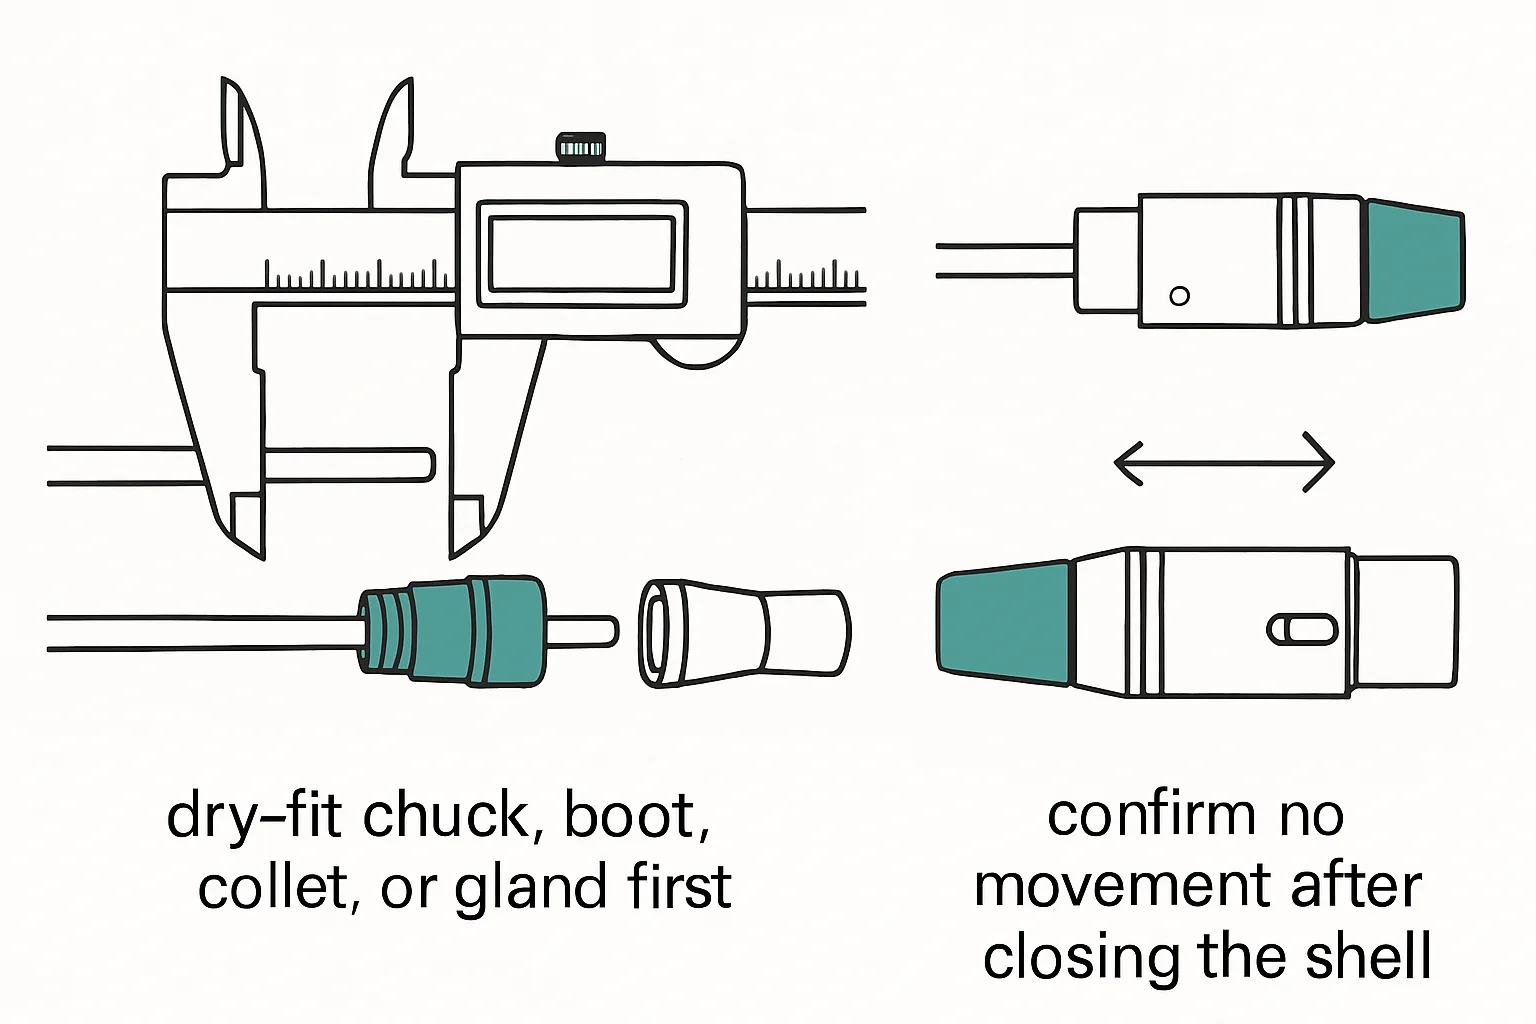
Do this before you solder, not after. Strip a sample of the cable you intend to build with, feed the jacket through the boot and chuck, assemble the connector with the shell fully tightened, then grab the connector in one hand and the cable in the other. Push the cable in. Pull it out. If you feel any sliding at the chuck, the fit is wrong - and no amount of good soldering survives a termination that can move. This test takes ten seconds and saves a re-solder.
What to do when the fit is wrong
You have three options, in order of preference. First, match the stock to the shell: build thin-cable cables on connectors made for thin cable. Second, step the boot down to one sized for the cable. Third, shim the jacket with heat-shrink where the chuck bites, so the clamp has something to hold. Any of these beats the fourth option, which is doing nothing and re-soldering the same failing joints next month.
Bench takeaway: Solder joins the conductors; the chuck is supposed to take the abuse - if the clamp can't grip the jacket, your joints are on their own.
Related
The XLR Wiring Mistake That Keeps Coming Back · Bad Solder Joints: What to Look For Before They Fail · Course: Build a basic XLR cable