Bench Notes › Articles › Test
Article · 1 min readYour Multimeter Is Lying to You. Or Is It?
By Thomas Popp · Oct 7, 2026
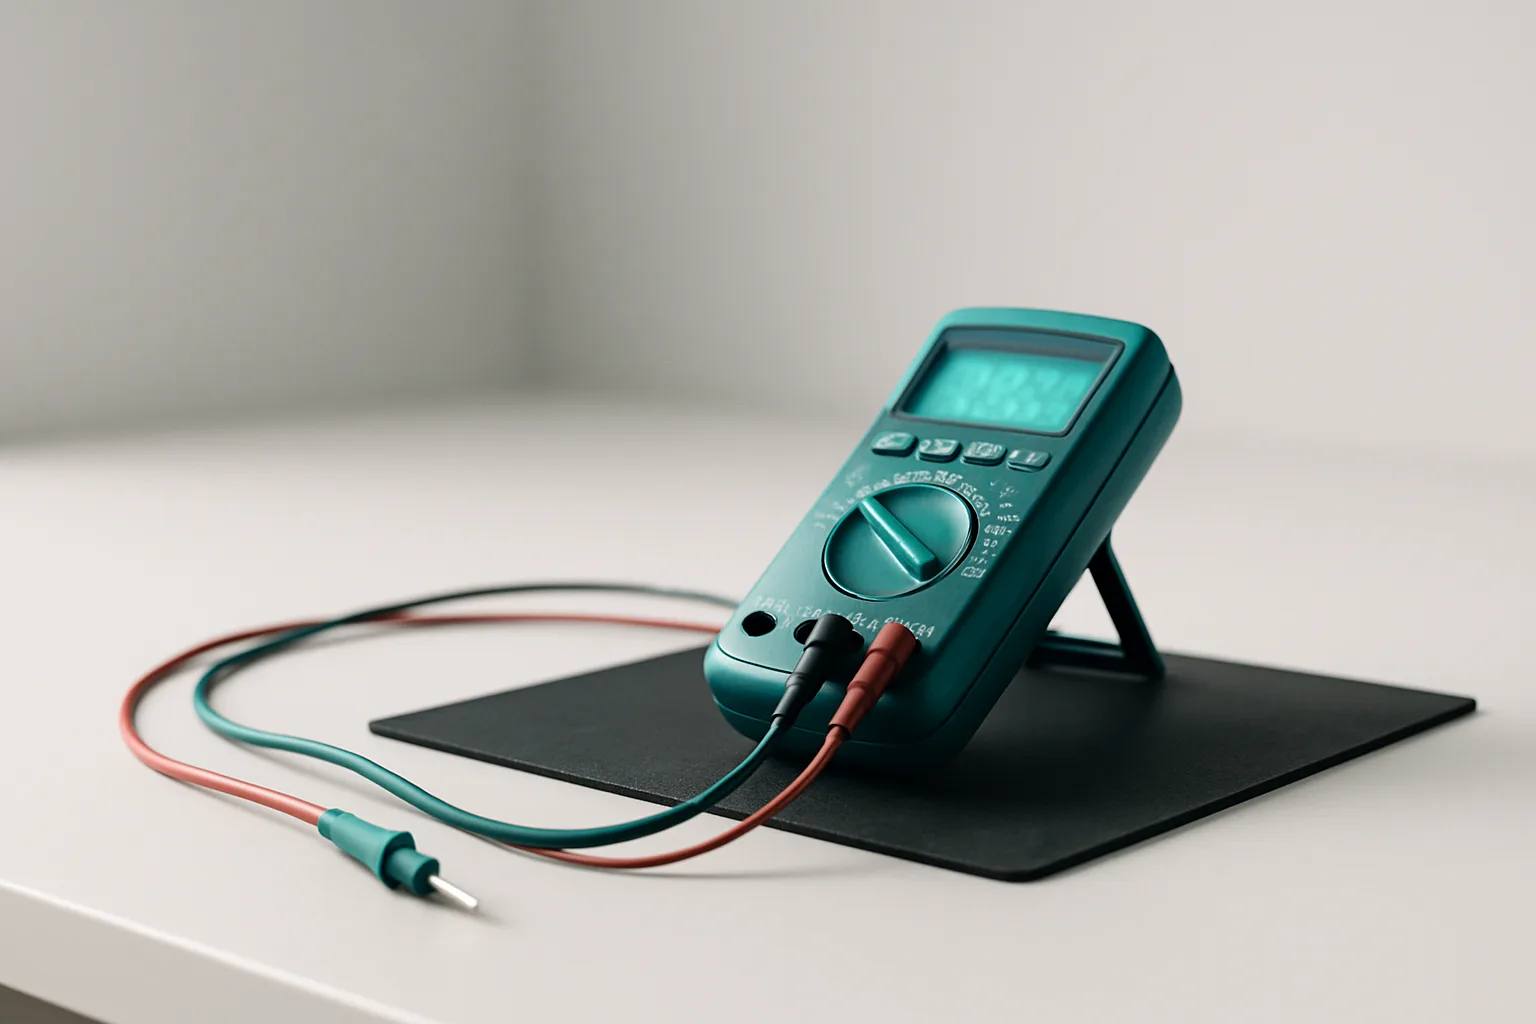
You probe a suspect cable, the meter beeps, and you clear it for the shoot. Then it fails on set and someone asks whether you tested it. You did - or at least, the meter said you did. The uncomfortable truth is that a continuity test is only as honest as the instrument running it. Before you blame the cable, make sure the thing doing the judging is trustworthy. That takes ten seconds.
The ten-second ritual
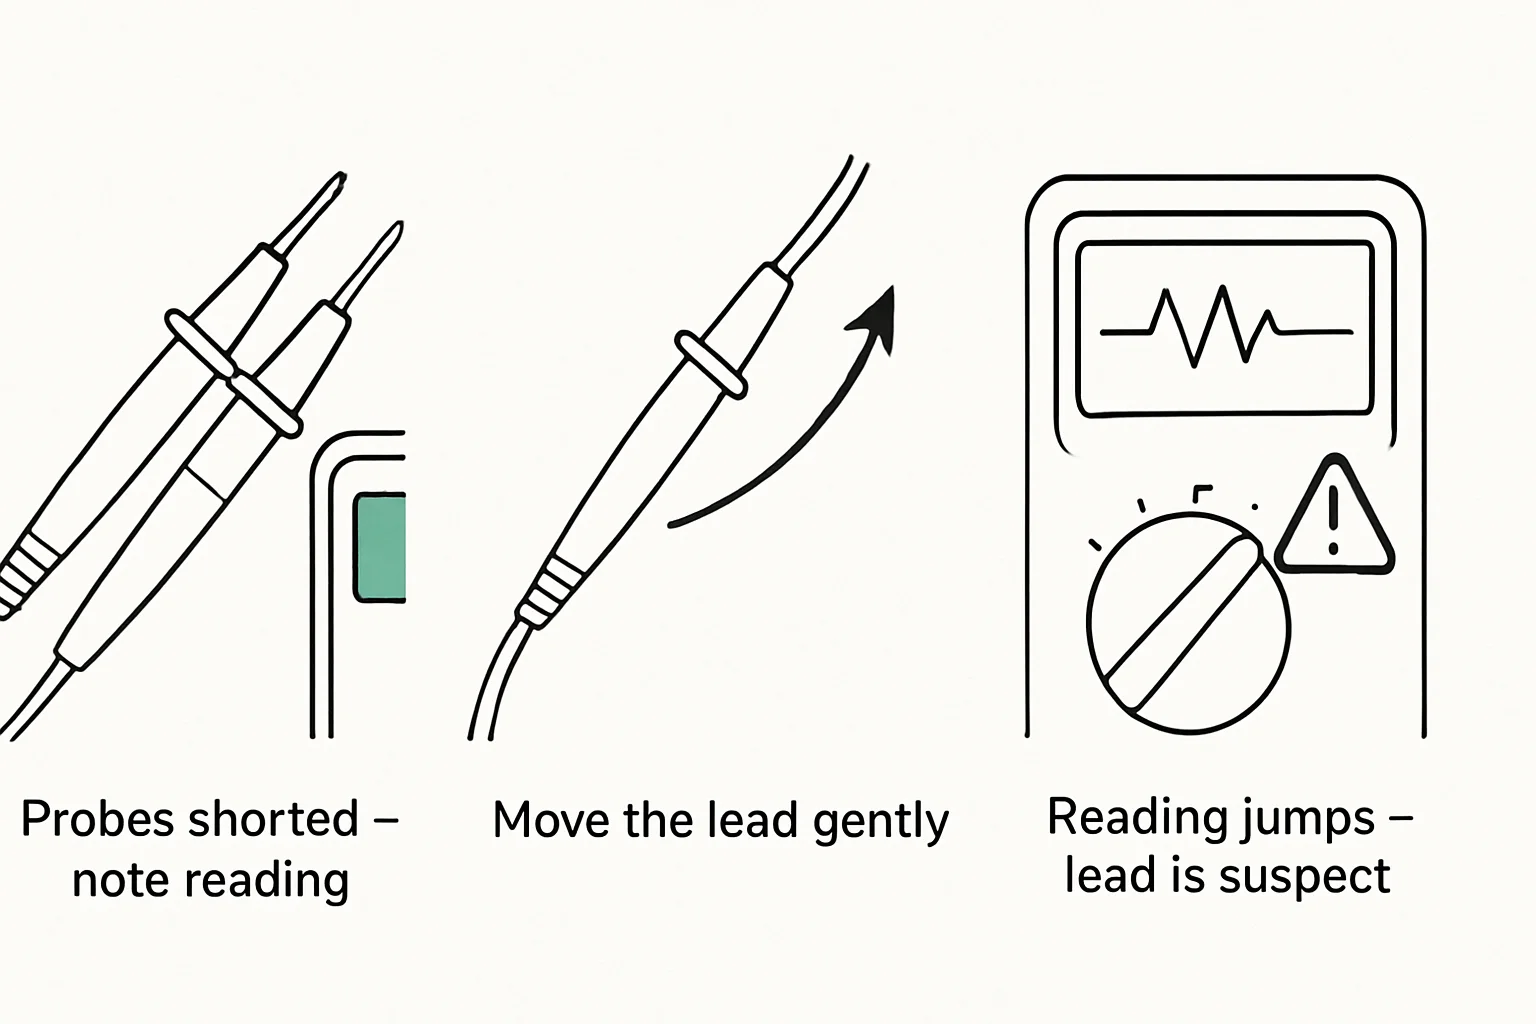
Switch to continuity mode - the diode symbol, the one that beeps - and touch the two probe tips directly together. You want a solid, immediate beep and a reading at or near zero ohms. Now flex the leads, first near the probe handles, then down at the meter end, and watch the display. If the beep stutters or the numbers jump, your leads are worn and every reading you take with them is suspect.
This is the part everyone skips, and it is the part that lies to you most often. Continuity mode works by pushing a small test current through the circuit and listening for a low-resistance path. A cracked conductor inside the lead, a dirty probe tip, or a weak battery will fake you out long before any cable does. Leads die at their connection points - where the wire meets the probe handle and where it enters the meter body - because that is where every tug and coil concentrates its stress.
Calibrate against something you trust
Once the leads check out, verify the meter against a known-good cable. A short patch cable from the bench drawer, one you have labeled and never lend out, should beep cleanly end to end on every conductor. If the reference cable reads oddly, stop: the problem is in the instrument or the leads, not in the cable you came to test.
Only then do you test the suspect cable, and you test it the way it will actually be used - flexed at the connector, with movement, the way intermittents reveal themselves. A reading taken on a cable lying perfectly still tells you almost nothing about the cable on a set.
Wiggle the leads, not the cable
When a reading is unstable and you cannot tell whether the fault is in the cable or your setup, wiggle the test leads - not the cable. If the reading changes, the fault is in your probes or leads, not the device under test. It is the same logic the newsletter issue on hum applies to signal chains: isolate the instrument before you condemn the subject. Your probes are connection points too, and intermittent faults live at connection points.
Safety first, always
SAFETY: Never test energized equipment with continuity or resistance mode. Continuity mode injects its own voltage into the circuit - probing a powered device gives garbage readings and can damage both the meter and the equipment. Power down and discharge the circuit first, every time.
Bench takeaway: the meter is a witness, not a judge - verify the witness before you trust the verdict.
Related
Your Cable Looks Fine. So Why Doesn't It Work? · The Wiggle Test: Catching a Cable That Only Fails Sometimes · Course: Build a basic XLR cable