Bench Notes › Articles › Build
Article · 1 min readYour Heat Shrink Looks Great. But Is It Actually Protecting Anything?
By Thomas Popp · Oct 7, 2026
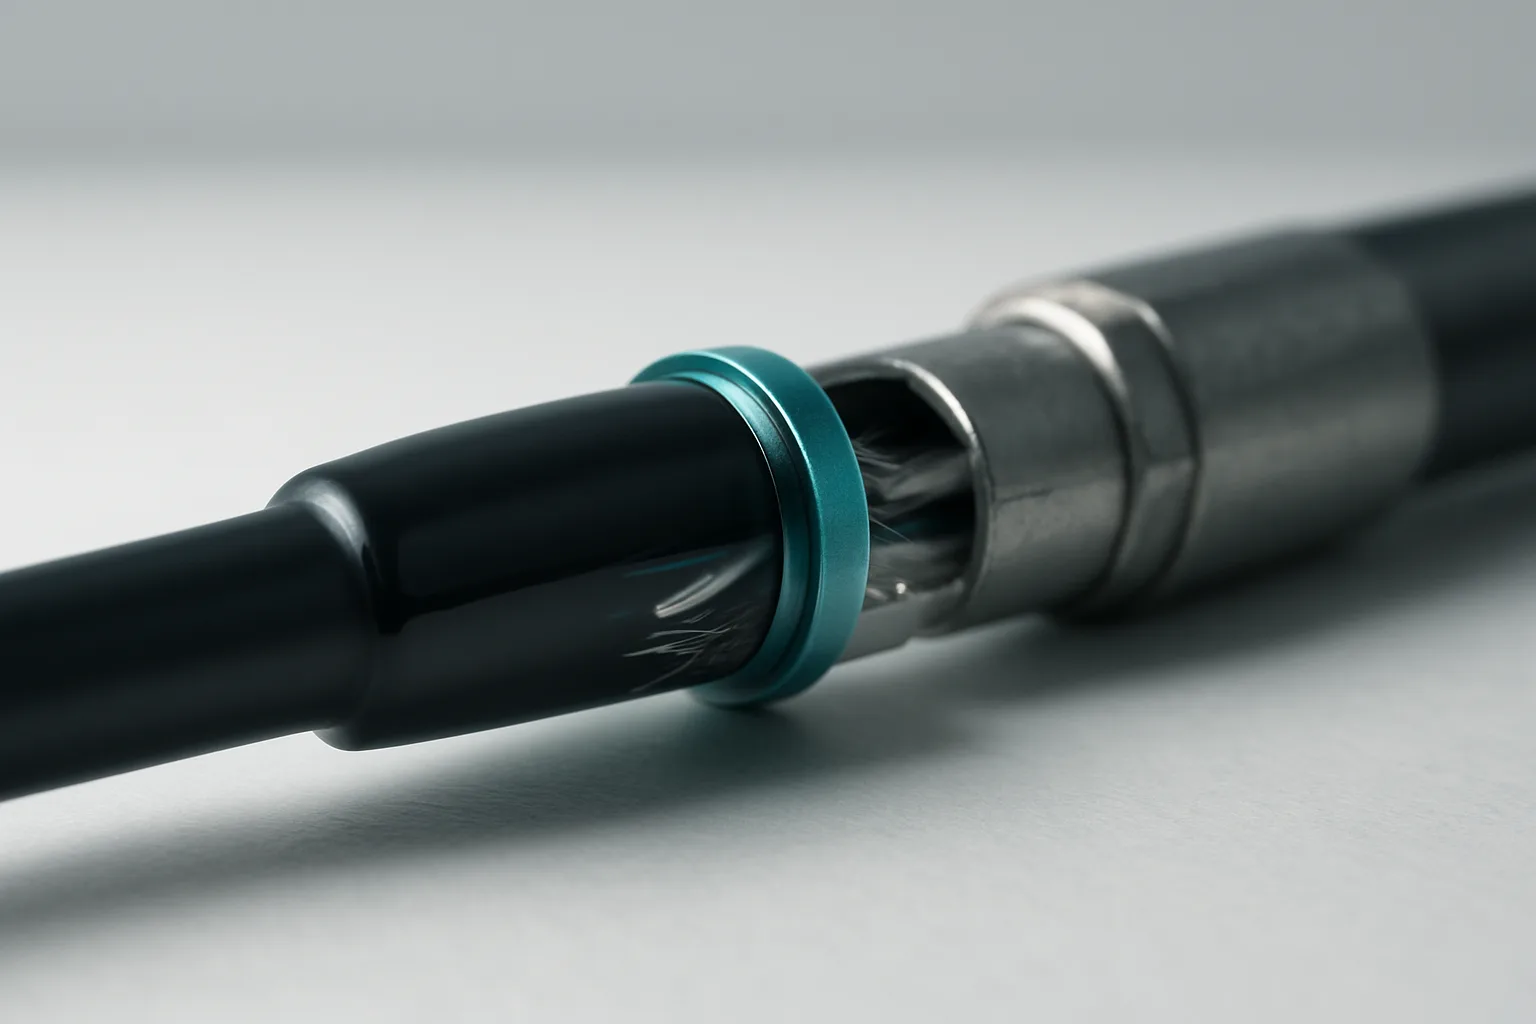
A short sleeve of heat shrink over a solder joint, tidy and centered, looks like a finished repair. It's the visual cue the job is done - the joint disappears under a clean tube and the cable goes back on the shelf. But if the tubing's recovered inner diameter is larger than the cable's outer diameter, it shrunk into a rigid tube that does nothing. It slides along the cable, leaves the joint exposed to flexing, and gives you a false sense of a finished job. Heat shrink that isn't gripping both the joint and the jacket is decoration, not protection.
Size from the cable, not the joint
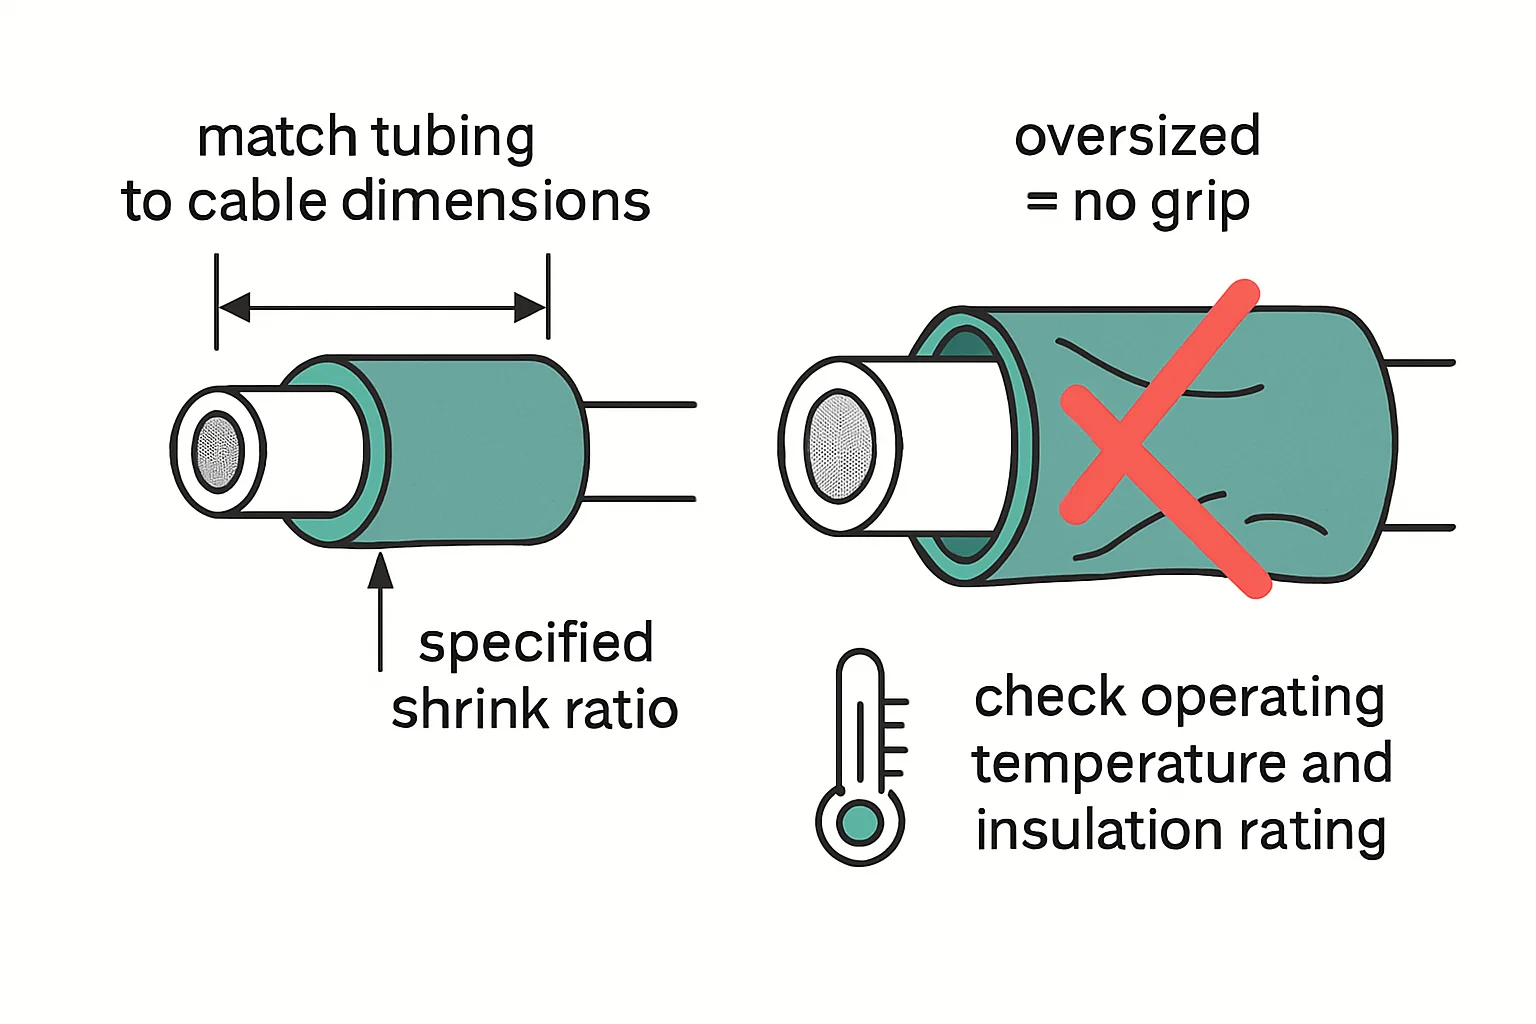
The mistake almost everyone makes is picking tubing that fits over the joint and the connector hardware comfortably - and then discovering it can't possibly grip the thinner cable jacket underneath. Size from the cable instead. Measure the cable's outer diameter with calipers, then pick a shrink ratio - 2:1 or 3:1 covers most bench work - whose recovered inner diameter lands slightly under the cable's OD. When you shrink it, the tube should visibly compress onto the jacket. That visible squeeze is the whole test: if you can't see the tubing take up on the jacket, it's oversized and you sized wrong.
Placement matters as much as size. Set the sleeve so it bridges the solder joint and extends a good centimeter or more onto intact jacket on both sides. The jacket is the anchor. Solder joints are rigid islands in a flexible cable, and flex concentrates exactly at the boundary where the solder ends - the classic break point is right where the wire meets the joint, because everything on one side bends and nothing on the other side does. A tube anchored on jacket both sides distributes that bend over the sleeve instead of letting it hinge at the solder.
Know what the tube is actually for
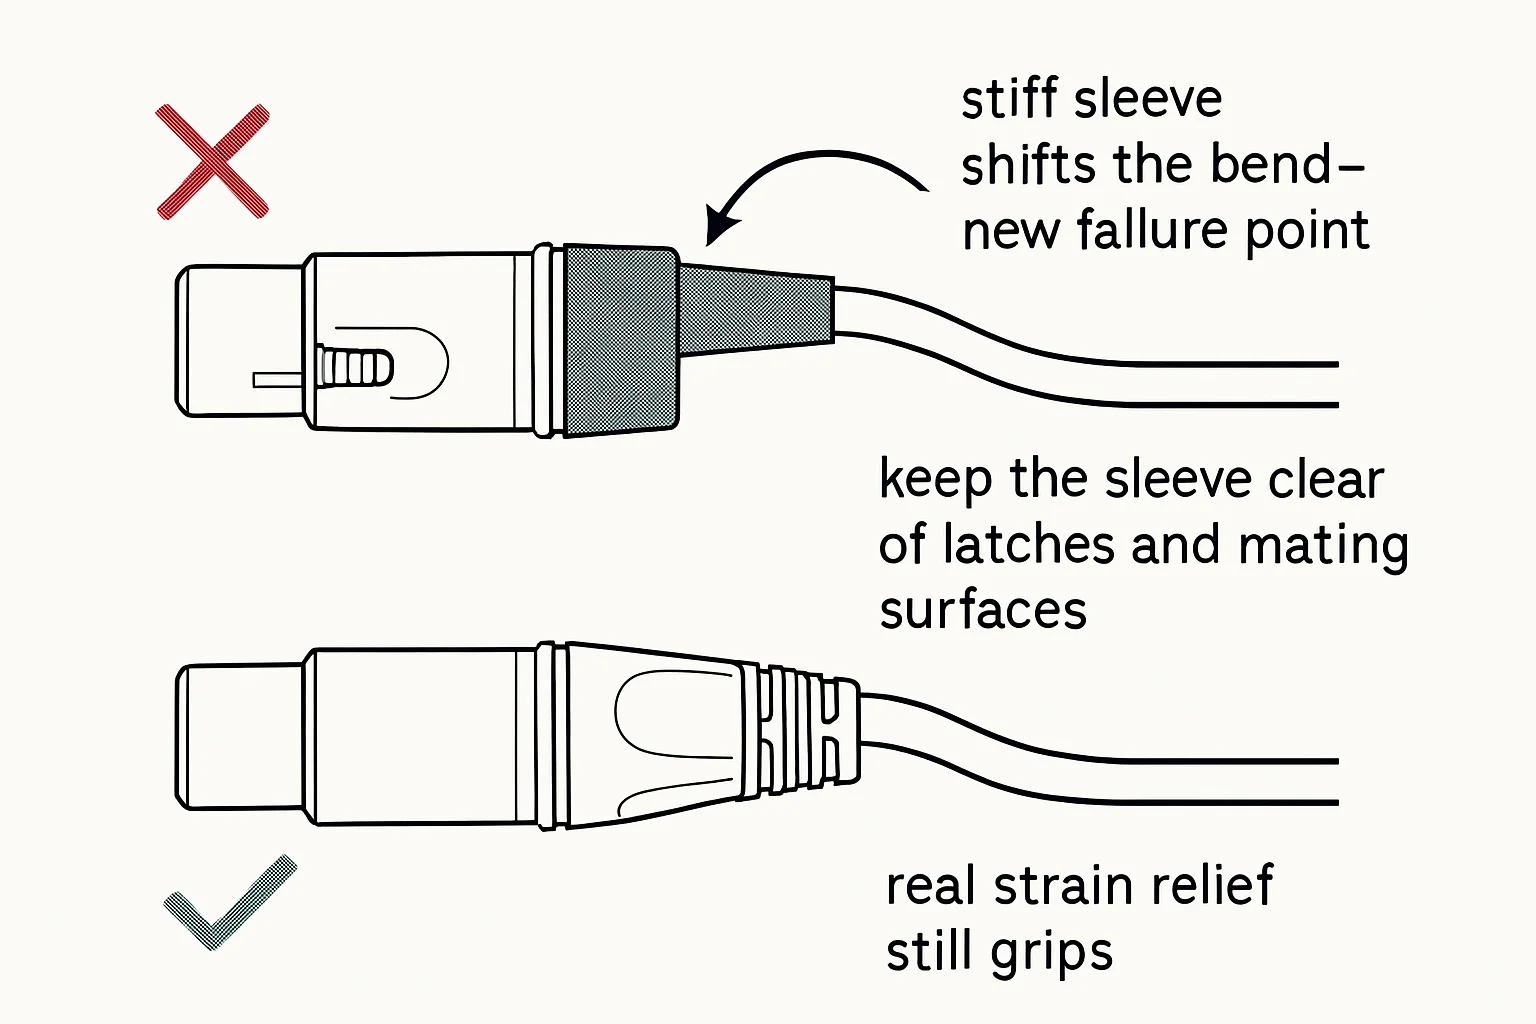
Standard heat shrink is insulation and identification. It keeps bare conductors from shorting and it gives you a clean surface for a label or color code. That is all it does. The moment you need mechanical strain relief - the cable resisting a real tug without the solder taking the load - standard tubing is the wrong tool no matter how well it grips. For that, you want adhesive-lined (dual-wall) tubing: heat it and the inner layer melts onto the jacket, bonding to it so the sleeve and the cable move as one. Ideally it goes over a proper strain-relief boot or gland underneath, with the adhesive tube as the bonded outer layer.
And identification has its own economy. When the repair is also future-you's problem, slide a short printed sleeve with the PB model number or build date under a clear oversized tube at the same time. It costs nothing while the joint is open and saves a forensic session while the joint is closed - the same future-you who wrote the repair log in issue 41 will thank past-you for a cable that identifies itself.
Bench takeaway: tubing sized to the cable OD with a recovered ID just under it, anchored a centimeter or more onto intact jacket both sides - and if the job needs real strain relief, that's adhesive-lined, not standard.
Related
The XLR Wiring Mistake That Keeps Coming Back · Bad Solder Joints: What to Look For Before They Fail · Course: Build a basic XLR cable