Bench Notes › Articles › Wireless
Article · 1 min readThe Tiny Cable Loop That Can Save a Lavalier.
By Thomas Popp · Oct 7, 2026
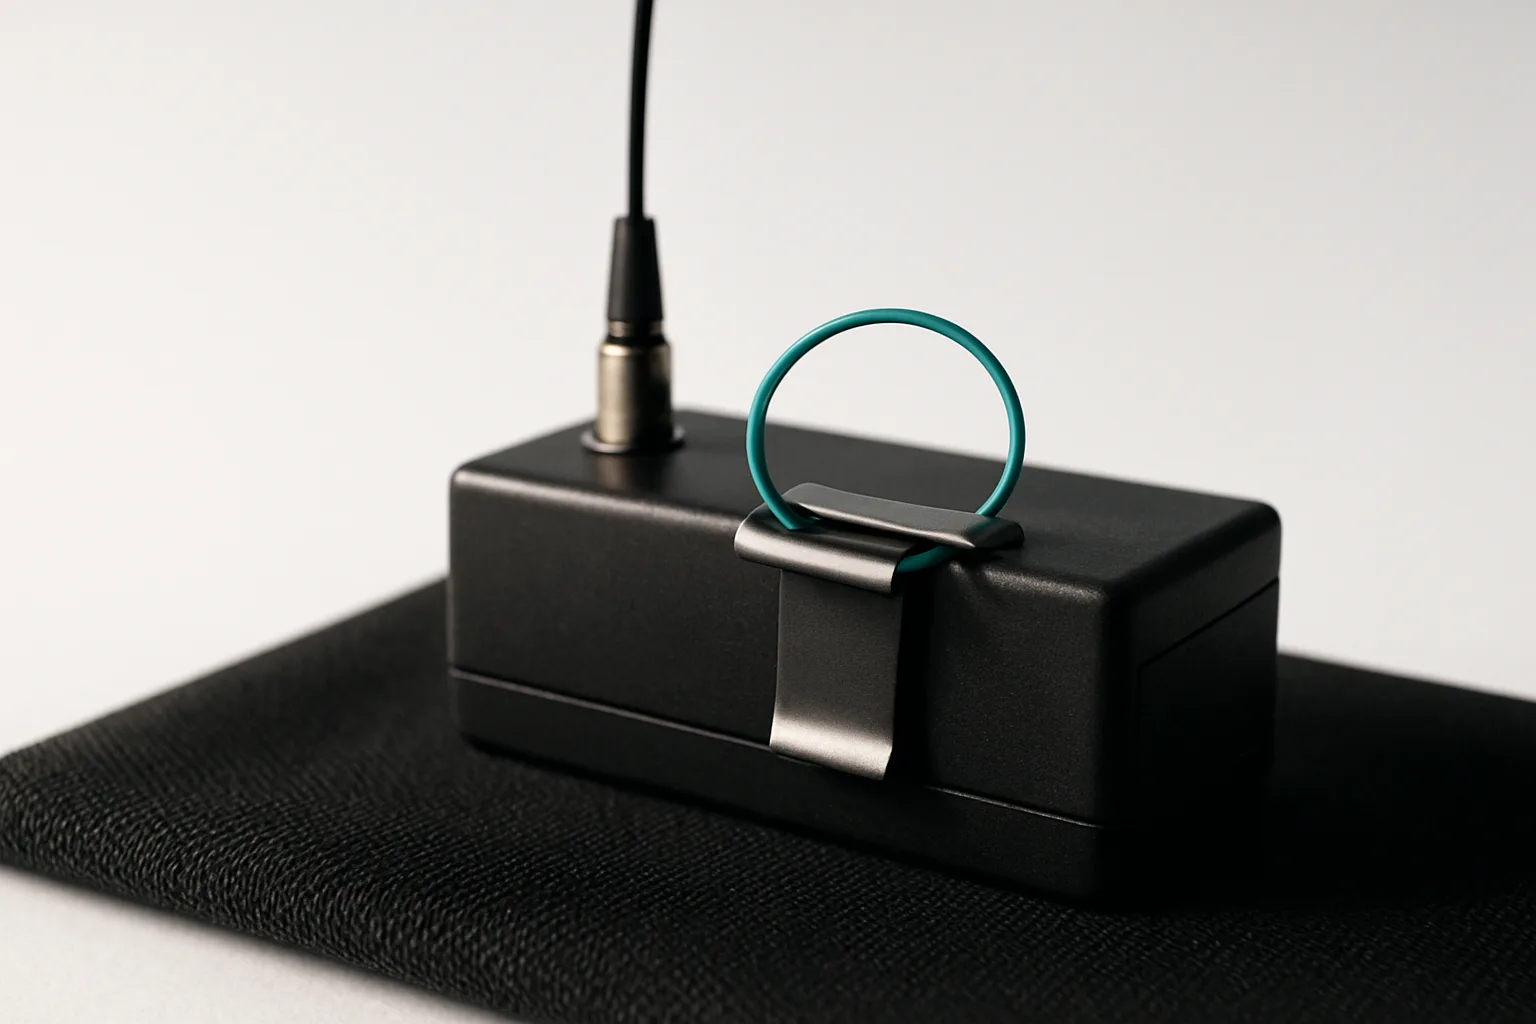
Ask any repair bench what kills more lavalier cables than anything else, and the answer is always the same: the ends. A yank on the cable pulls the connector sideways, the stress lands on the solder joints, and the conductor strands start snapping one at a time. The mic keeps working - until it starts crackling when the actor moves, and then it fails completely. The whole failure chain, from a perfectly good lav to a dead one, usually starts with a single tug that the connector absorbed instead of the cable routing.
The fix costs nothing and takes five seconds: a small loop of cable trapped under the bodypack's clip.
How the loop actually works
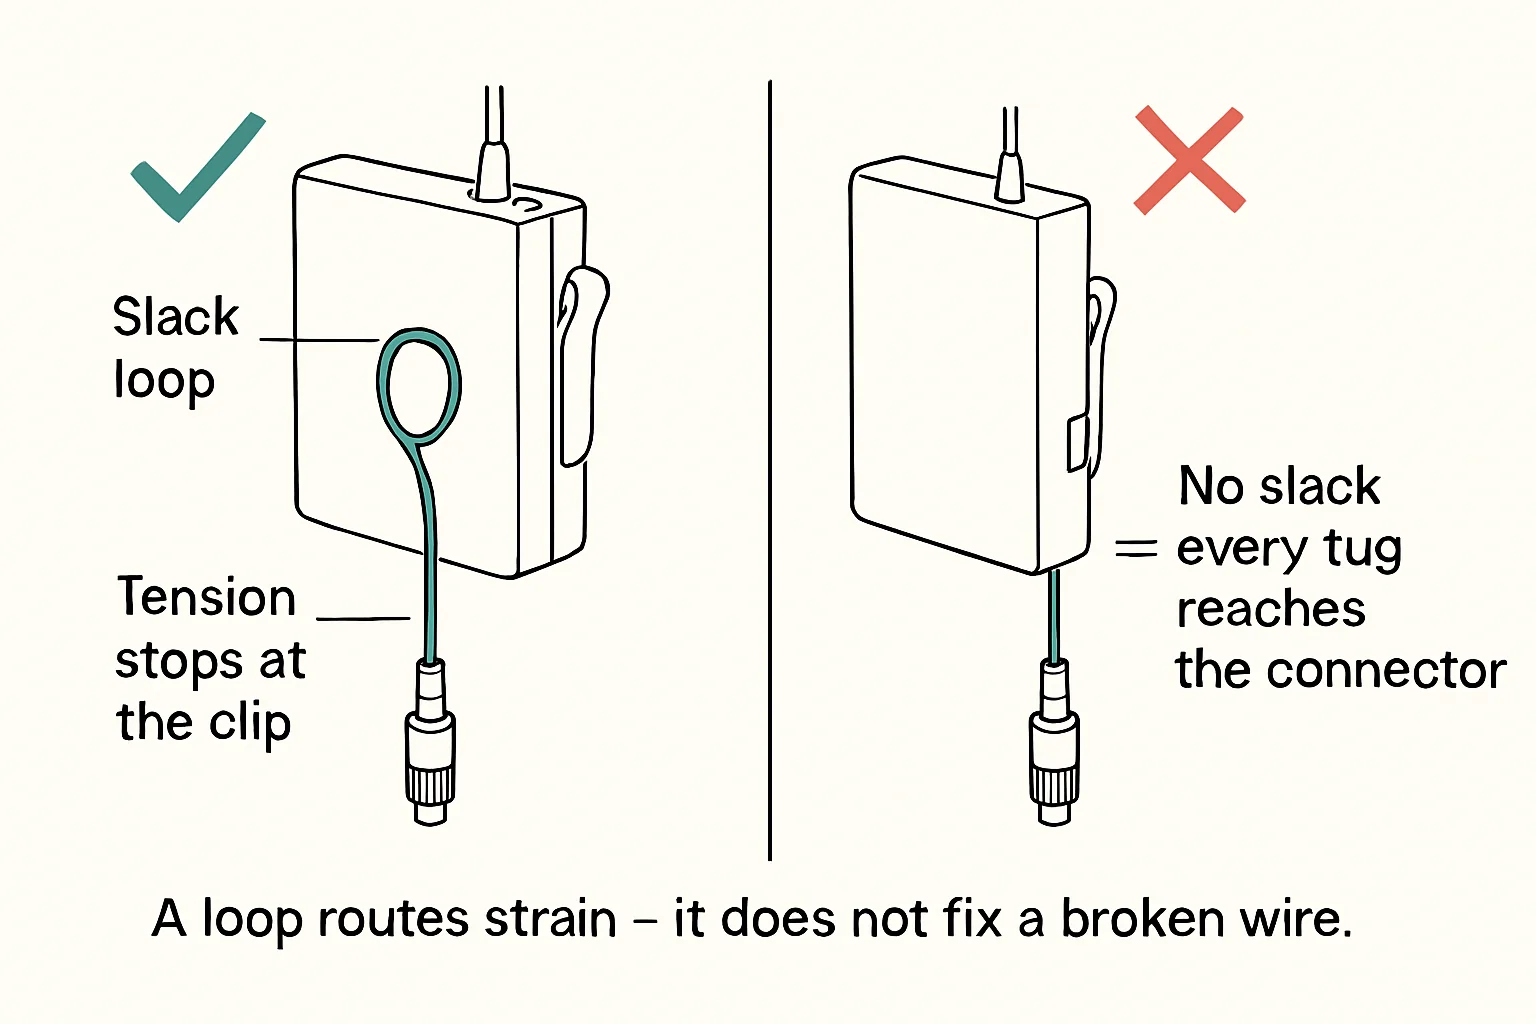
Run the lav cable up from the transmitter, trap a small loop of slack under the bodypack's clip, then continue up to the talent. When a tug comes down the cable - a snagged sleeve, an actor sitting down, a costume quick-change - the loop tightens against the clip and the pull stops there. The connector never feels it. The capsule joint never feels it.
The key detail: leave slack on both sides of the loop. Slack between the loop and the mic, so the talent's movement doesn't pull the capsule tight. Slack between the loop and the connector, so nothing is under tension in normal use. A loop with taut cable on either side is decoration - tension just routes around it and lands on the joints anyway.
And never, ever tie the cable in a knot to hold it. A knot kinks the shield, crushes the dielectric, and creates exactly the break you're trying to prevent - a slow-motion version of the same failure. If the cable needs securing, tape it or use the clip; tension management should never become a knot.
The adapter joint is a second failure point
The same loop protects the mic end when you're running an adapter. DPA's MicroDot system is the classic example: the lav itself carries a tiny MicroDot termination, and you swap DAD brand adapters to match the bodypack. That MicroDot joint is small and delicate, and the adapter connection is a second mechanical joint in the chain. Either one can fail under tension.
So give both joints slack, not tension. Run the loop trick at the bodypack end as always, and make sure the adapted joint at the mic end has its own slack - don't let it become the anchor point for the cable. Adapters multiply your failure points, and each one wants the same treatment as the connector itself.
Storage is where tomorrow's crackle is born
Lavs don't only die on the body - they die in the kit case. The wrong way to store a lav is to wrap the cable tight around the transmitter or wind it into small, tight coils. Tight winding stresses the same solder joints the loop protects, and a lav that gets coil-wound tight after every shoot arrives at the next one with pre-broken strands waiting to fail.
Coil it loosely, with generous loops, and never pull the cable into a bend tighter than its own natural curve. The newsletter's rule stands: no kinks, no tight bends. When you uncoil it next time, it should lie relaxed and straight, not fight you with springy kinks at the ends. If the cable has memory kinks, those are the exact spots that will crackle first.
Common rigging variations
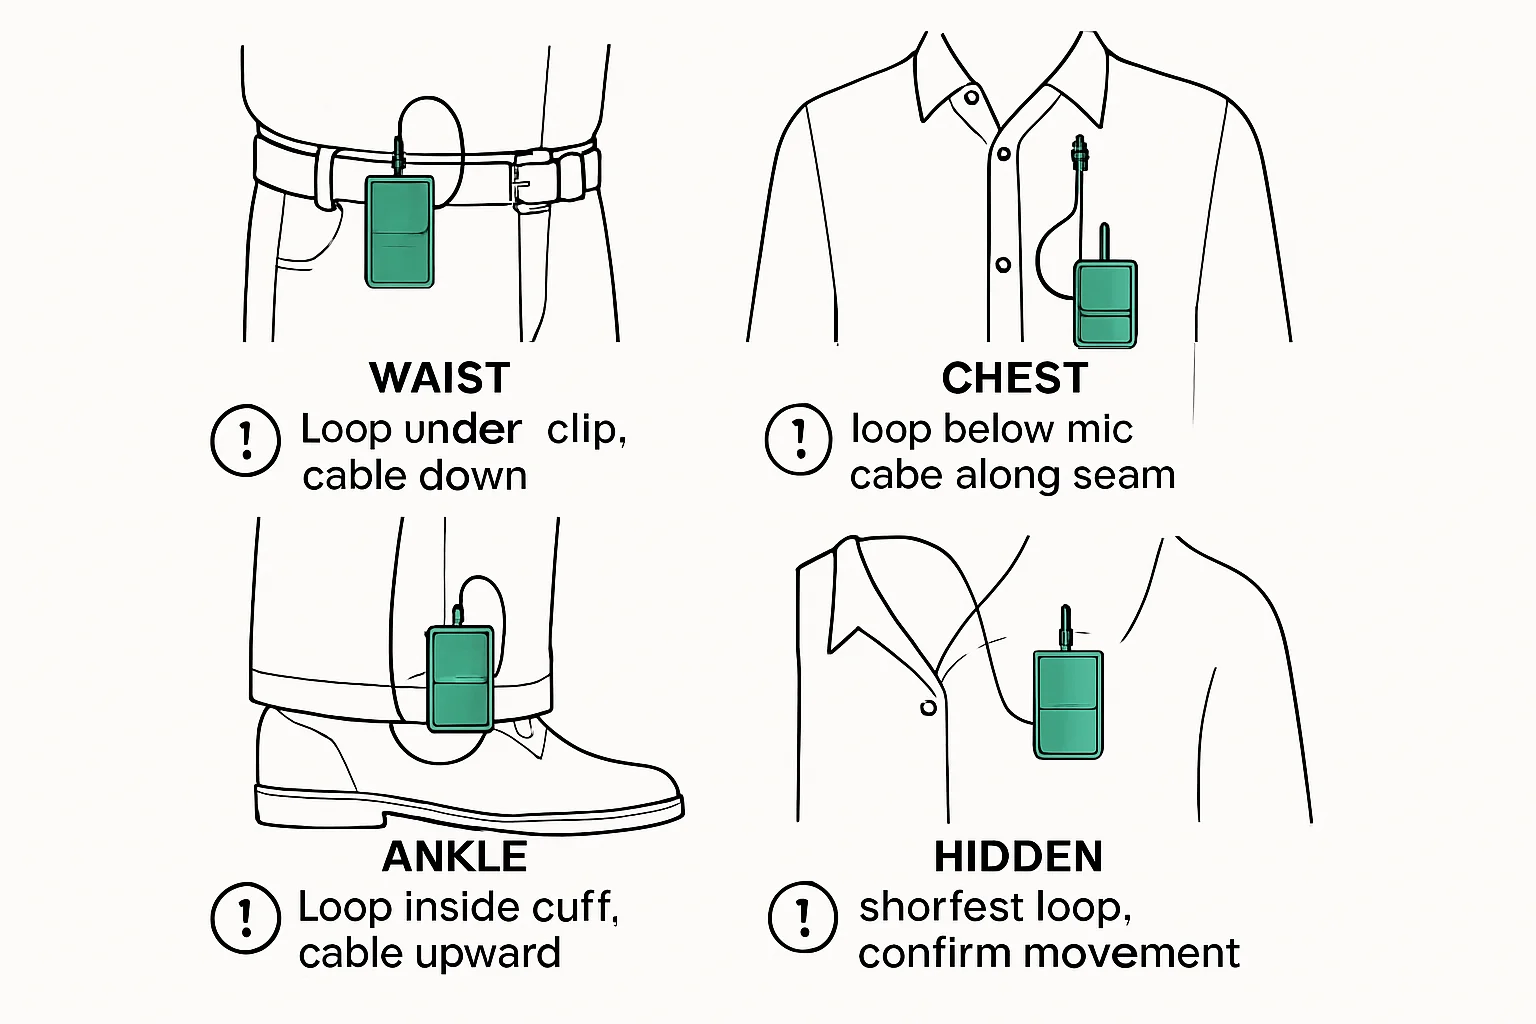
On a chest rig, the loop sits under the bodypack clip with slack running up to the capsule - the standard case. For a pocket or hidden hide, tape a small loop at the seam before the cable continues to the mic; the tape becomes the anchor instead of the clip, but the principle is identical: no tension ever reaches a joint. And on costumes with no belt, no pocket, and no good anchor, a clipped loop on the bodypack is still the priority - even a pouch-hung transmitter wants that loop, because pouch transmitter get tugged more, not less.
Bench takeaway: Every tug that reaches a solder joint is a strand lost - trap a slack loop under the clip, keep both sides loose, and never let a joint become the anchor.
Related
Stop Guessing Your Wireless Frequencies · Was That an RF Dropout or an Audio Connection Failure? · Course: Build a basic XLR cable