Bench Notes › Articles › Teach
Article · 1 min readTeach a Student to Test a Cable Without Guessing.
By Thomas Popp · Oct 7, 2026
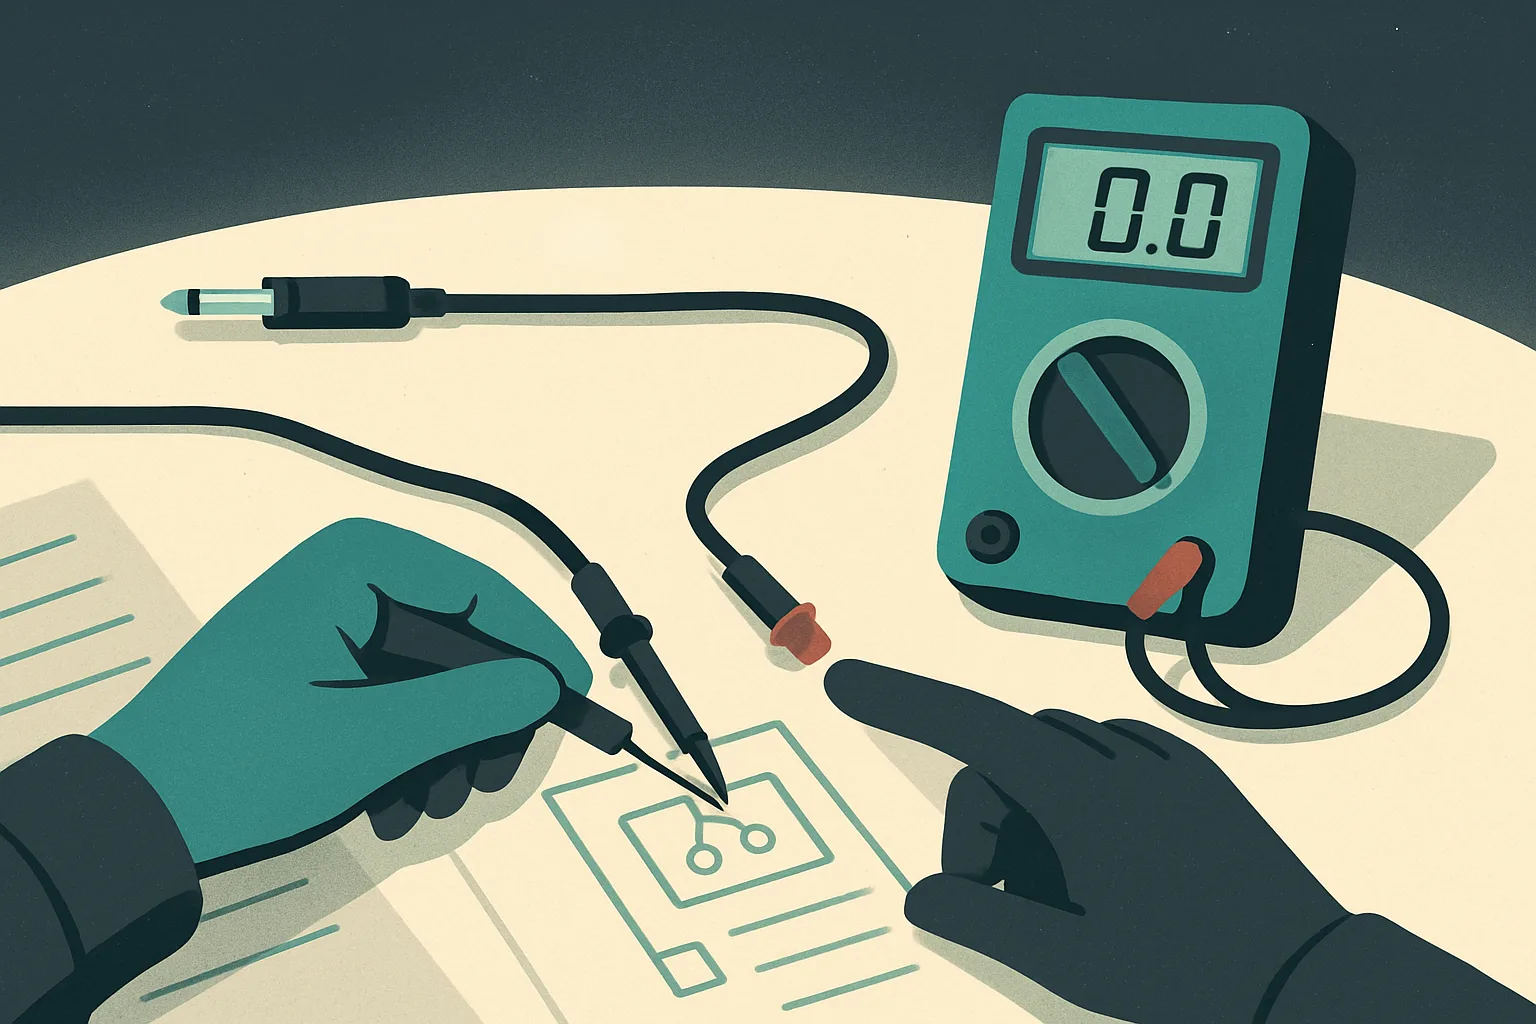
New students do one of two things when you hand them a meter and a suspect cable: probe at random and hope, or declare the cable good because "it worked last time." Neither is testing. Testing is a procedure - a fixed sequence with a written record - and it's one of the most teachable skills in the equipment room because it has zero instinct in it. You can run this in a single session, and the student walks out with a page they can reuse forever.
Hand them a procedure, not a lecture
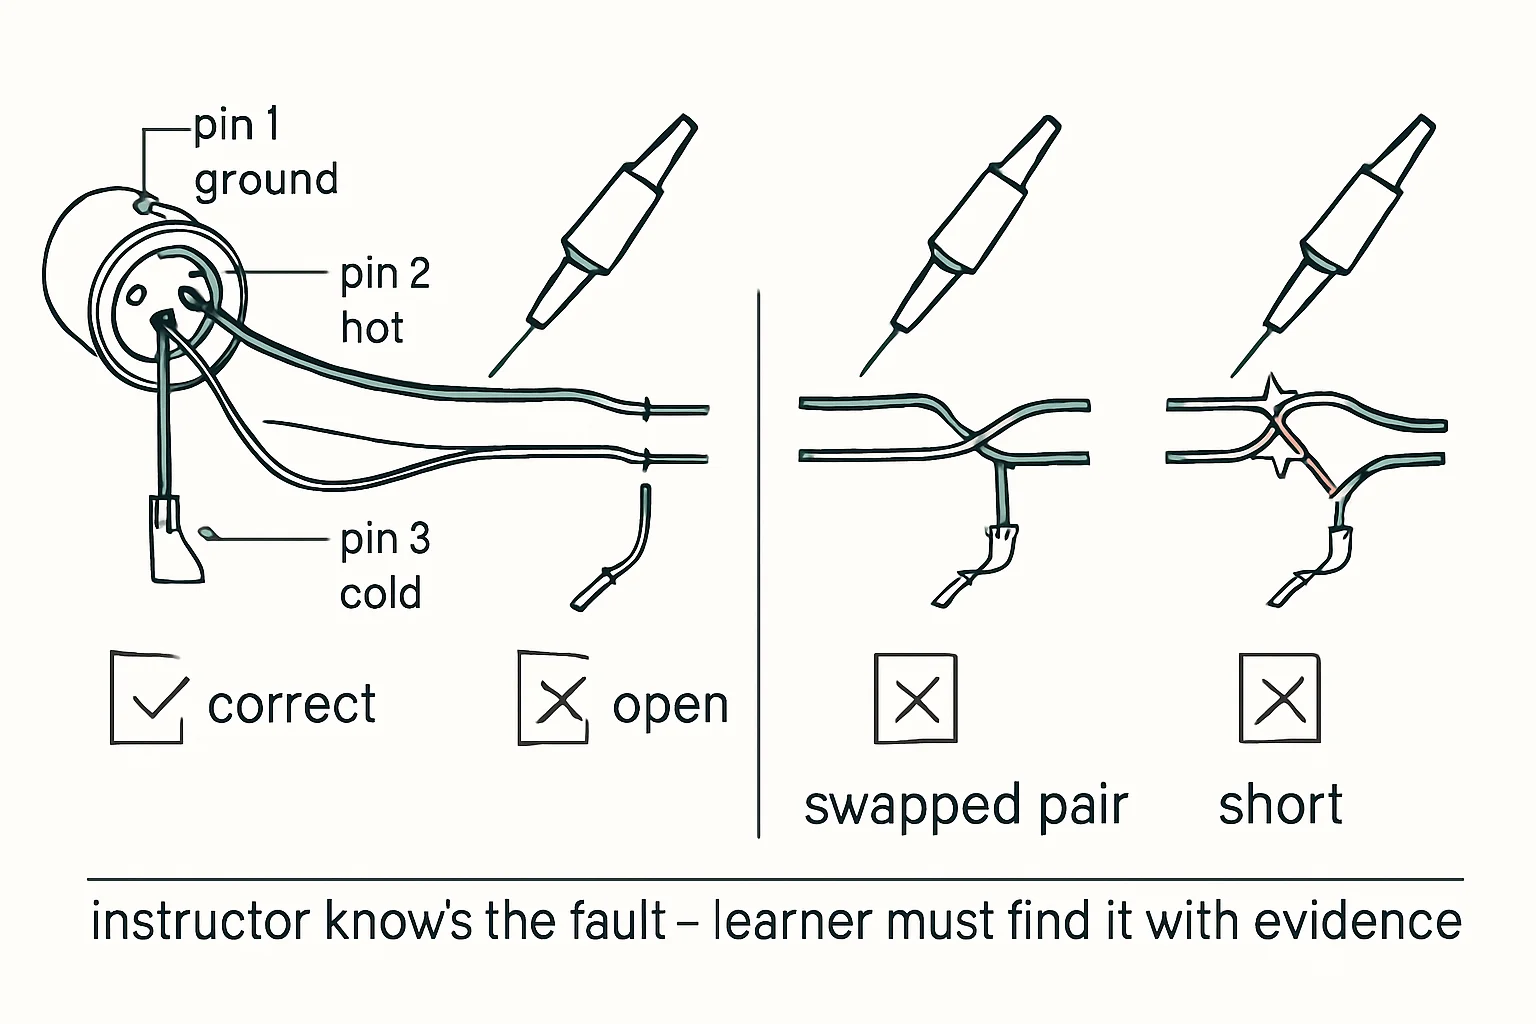
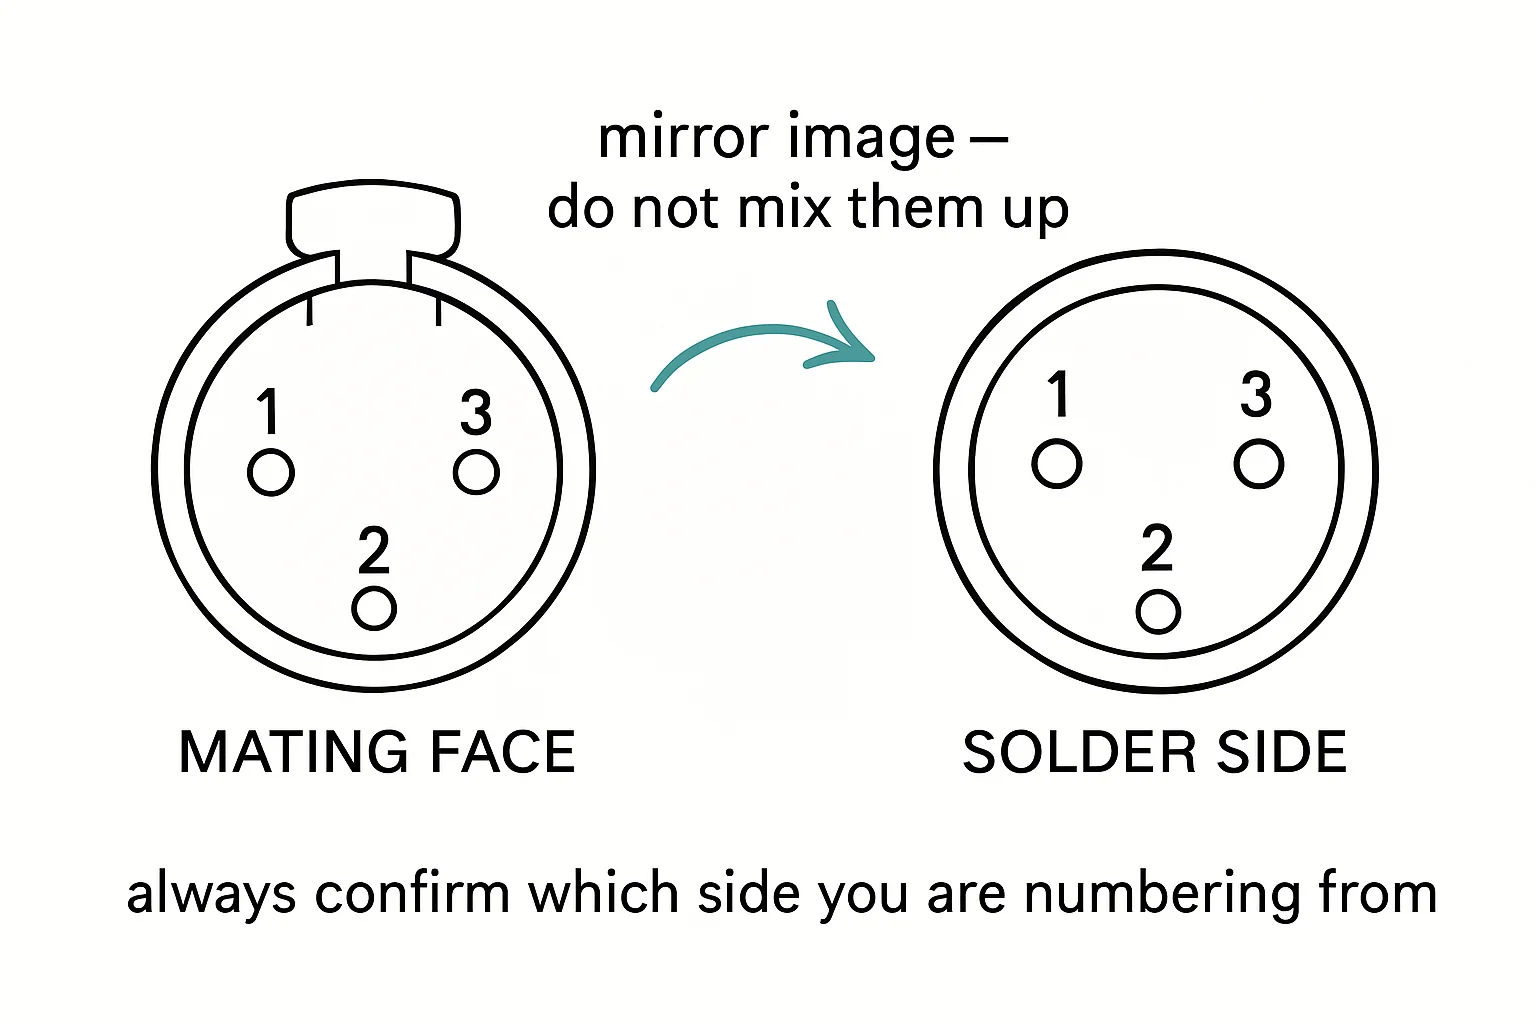
Give the student three things: the cable's documented pinout, a meter, and a four-step ritual. Step one: read the pinout sheet first. For a standard mic cable that's XLR pin 1 to 1 (ground/shield), 2 to 2 (hot), 3 to 3 (cold) straight through. No guessing; the sheet is the authority, and reading it first is the habit you're actually teaching. Step two: continuity, pin to pin, with both ends disconnected, recording every result on the worksheet as they go - not from memory afterward. Step three: shorts - every pin against every other pin and the shell, with the far end unmated, expecting no connection anywhere unmapped. Step four: the flex test at both connector entries, watching the meter for flicker while gently moving the cable, and logging what they see. Four steps, one order, every time. The order matters: continuity proves the map, shorts prove the isolation, flex proves the joints survive handling.
Make the worksheet do the thinking
The log sheet isn't paperwork for its own sake - it's what converts vibes into procedure. Each row has an expected value and a measured value. When the expected and measured columns agree all the way down, that's a pass, and the student can see why. When they disagree, the sheet shows exactly where. This matters for teaching because it moves the authority off the instructor's opinion and onto the paper: "the cable fails" isn't your verdict, it's the sheet's verdict. Students who learn testing from a worksheet stop asking "is it good?" and start asking "what does it read?" - and that question is the whole job.
Add a peer check
Then the step that does the real teaching: a second student re-runs the same sheet on the same cable. Two matching sheets is a pass; anything else gets re-tested or re-terminated. The peer check catches sloppy probe contact and misread meters - the two biggest beginner error sources - and it teaches the discipline of verification without a lecture about it. In professional practice, nobody's bench work goes out unchecked; you're just starting the habit early.
Make the rubric binary
Pass or fail - no "probably fine," no "good enough," no marginal grades. This is deliberate. A hesitant student who fails a cable on suspicion and turns out wrong is still learning the procedure correctly. A confident student who passes a bad cable on vibes learns nothing and puts a bad cable on a gig. The binary rubric removes the social pressure to be agreeable and replaces it with the sheet's authority. Students will push back the first time a cable they "know is fine" fails; let the worksheet win that argument.
Bench takeaway: don't teach cable testing as a skill - teach it as a four-step ritual with a worksheet, a peer check, and a pass/fail rubric, and guessing never gets a chance.
Pinout reference
| Pin | Carries |
|---|---|
| 1 | Shield / chassis reference |
| 2 | Hot (+), non-inverting |
| 3 | Cold (−), inverting |
Related
The Production Bench Master Checklist: 12 Habits Worth Keeping · Your Cable Looks Fine. So Why Doesn't It Work? · Course: Build a basic XLR cable